

Montage van je hola!
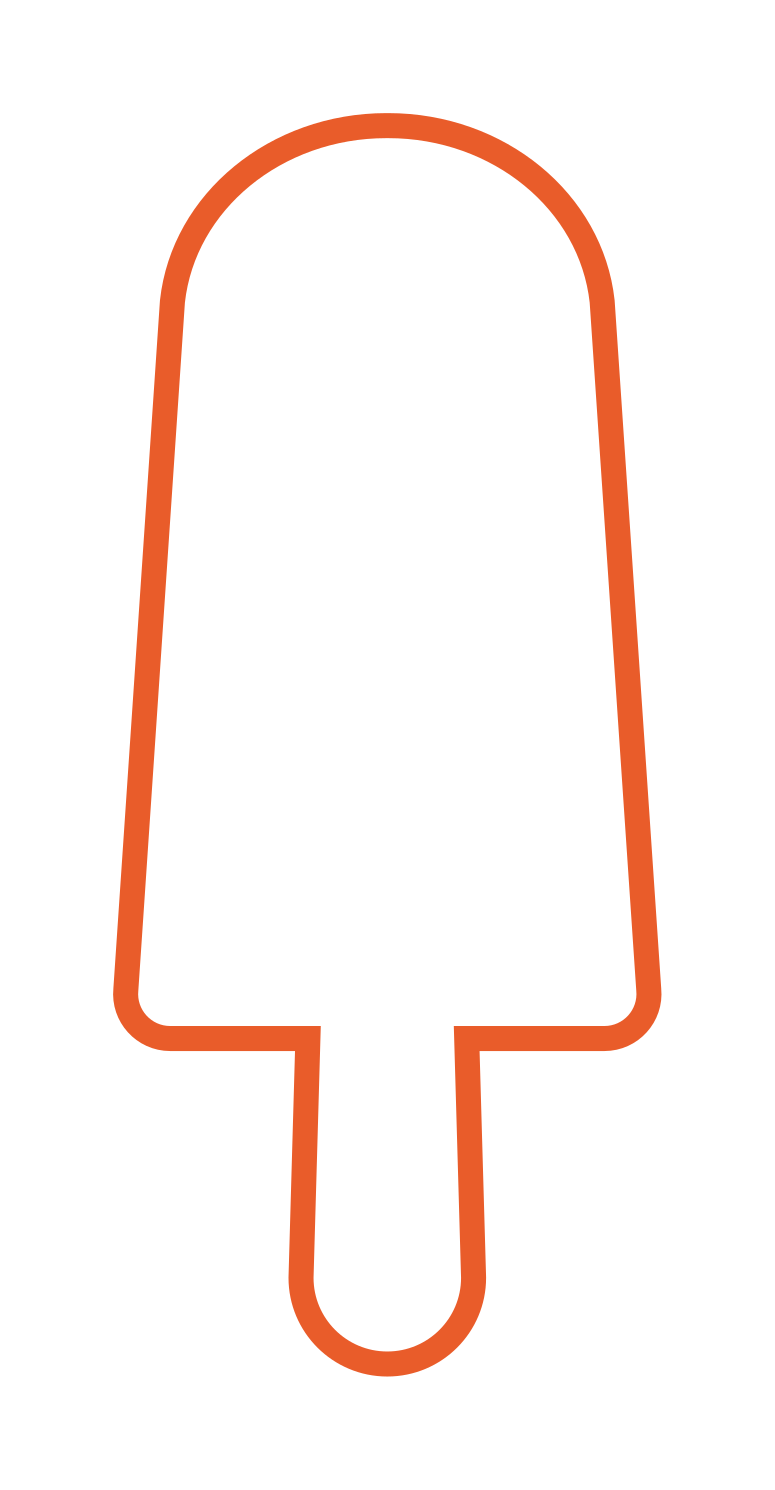
De bevestiging van je hola! is niet ingewikkeld
In de verpakking vind je:
- 1x hola! voorzien van een blauw nokje
- 1x schroefje
- 1x muurplug
- 1x witte bevestigingsdop
Hout
- bepaal de plek
op het blauwe nokje op de achterzijde van het ijsje zit een 'puntje'; maak daar een afdruk mee in de wand en je weet waar je schroef komt. - schroef het witte dopje met de bijgeleverde schroef vast
- klik het blauwe nokje van het ijsje in de witte dop, en klaar.
Steen
- bepaal de plek
op het blauwe nokje op de achterzijde van het ijsje zit een 'puntje'; maak daar een afdruk mee in de wand en je weet
waar je moet boren. - boor een gaatje in de wand
- duw de plug in het gaatje, zorg dat de plug niet uitsteekt
- schroef het witte dopje met de bijgeleverde schroef vast
- klik het blauwe nokje van het ijsje in de witte dop, en klaar.
Mounting your hola! is simple
Inside the package, you will find:
1x hola! featuring a blue tab
1x small screw
1x wall plug
1x white mounting cap
Wood
- Determine the location.
- There is a small point on the blue tab on the back of the ice cream shape;
- press it against the wall to leave a mark, indicating where the screw should go.
- Screw the white cap onto the wall using the provided screw.
- Click the blue tab on the ice cream shape into the white cap, and you're done.
Brick
- Determine the location.
- There is a small point on the blue tab on the back of the ice cream shape;
- press it against the wall to leave a mark, indicating where to drill.
- Drill a hole in the wall.
- Insert the plug into the hole, ensuring it does not protrude.
- Screw the white cap onto the wall using the provided screw.
- Click the blue tab on the ice cream shape into the white cap, and you're done.